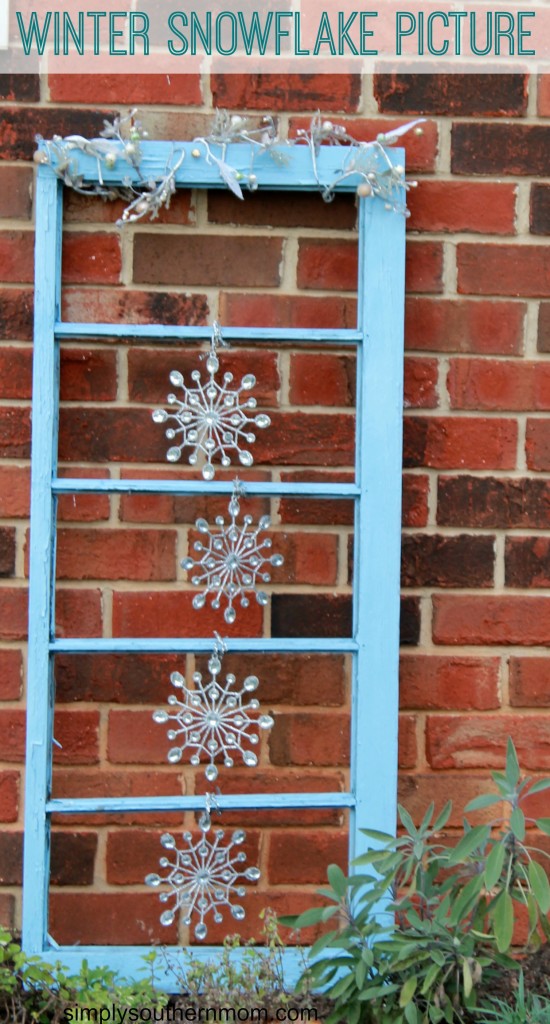
Winter always gives me the “blahs.” The trees are bare, there’s hardly any plants growing and the grass is brown. This year I wanted to add a pop of color to my front flower garden, but wasn’t sure what to do. I came across an old window frame I was saving to make a craft project and thought, “Now is the time!” I found some low cost silver icicle ornaments and decided to make a glittery 3D Winter Snowflake Picture.
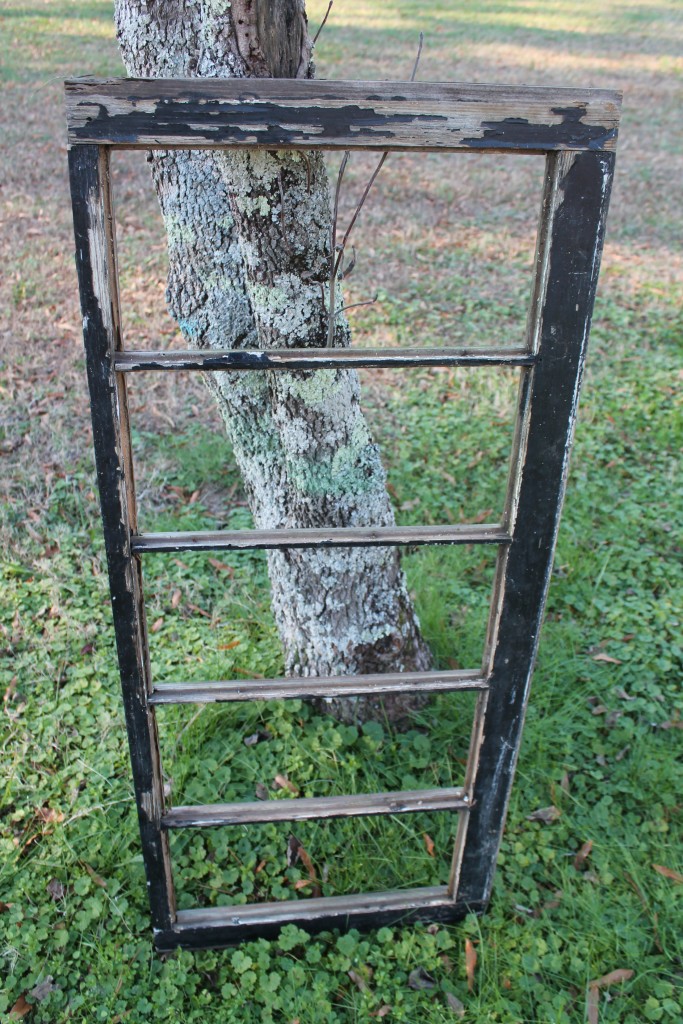
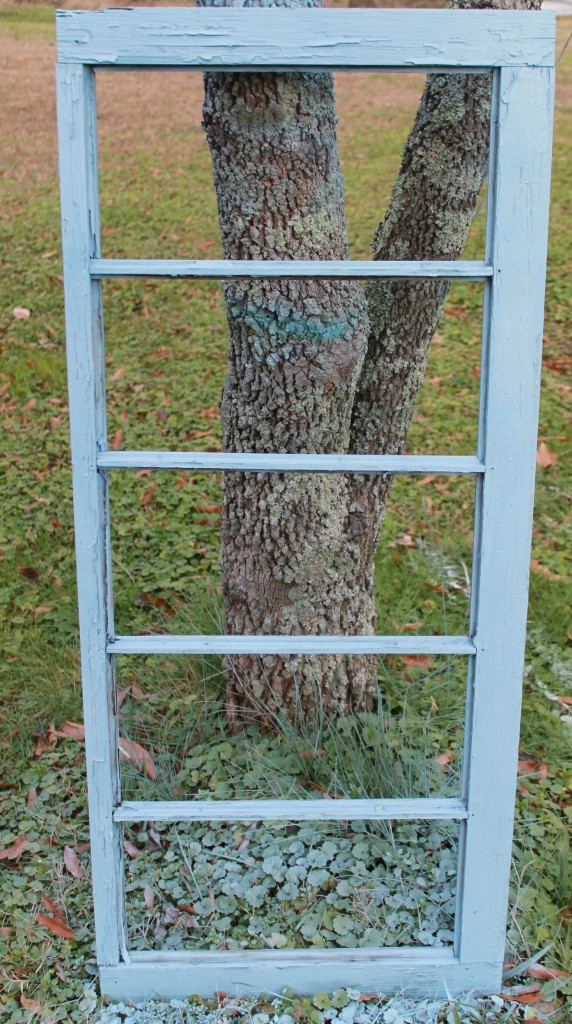
I began by painting my frame a winter blue. I used a matte finish spray paint by Krylon. If the window frame has been painted in a dark color, it may take two coats to completely cover the frame. Allow the paint to dry.
I had five window panes in my window so I purchased four glittery icicle snowflakes from the Christmas section. I wanted to allow the topping to shine, but I might add another snowflake in the top pane later.
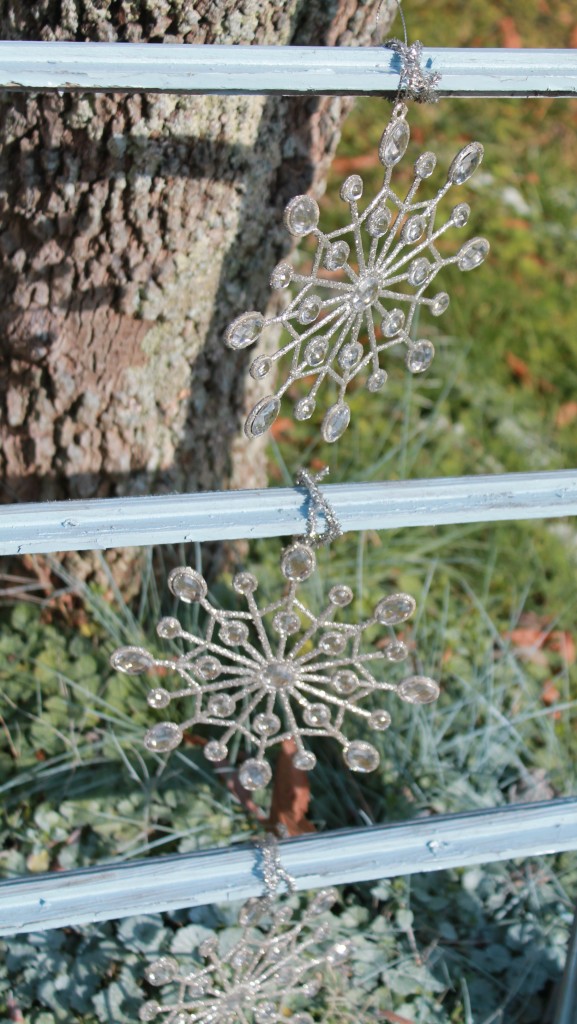
To hang the snowflakes on the window, remove the thin ribbon hangers. Insert a silver pipe cleaner through the snowflake and twist the pipe cleaner around the window slat. I placed my snowflakes in the middle of the picture, but they would look nice placed in different positions on different window slats.
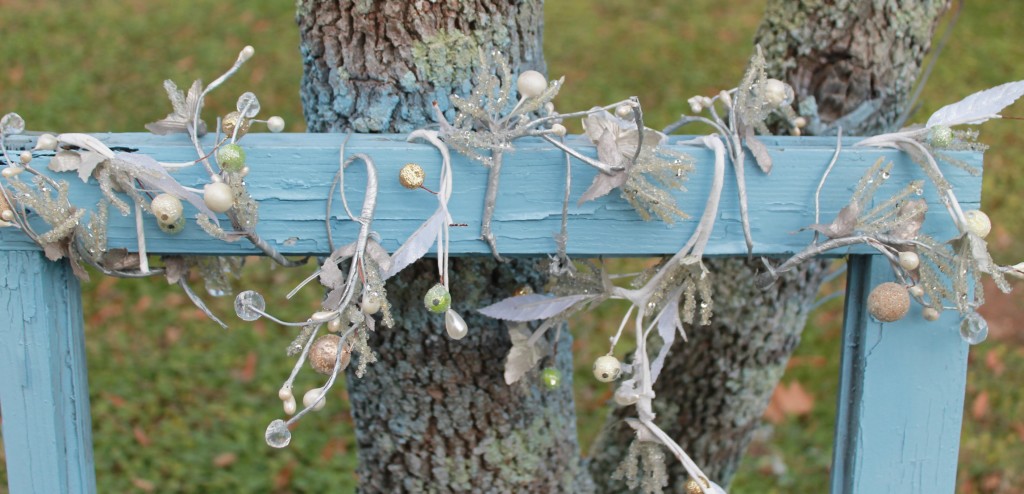
I finished my picture by adding a string of shimmery floral Christmas garland. I found this in the Christmas Floral section at a craft store. The entire project cost me around $8 to make. The most expensive item was the can of paint, which cost $3.50!
I think it makes a great addition to my “winter” garden and stands out against the brick. This window could be adapted for any season or for any month of the year. Hearts would be a fun addition for Valentine’s Day, Shamrocks for St. Patrick’s Day, or Pumpkins or ghosts for Halloween.
What ideas do you have to perk up your yard during the winter?
For more winter ideas, visit a few of my favorite bloggers:
- Easy last minute Christmas decor by Confessions of an Overworked Mom
- Peppermint cream fruit dip by 2Boys+1Girl=OneCrazyMom
- Winter snowflake picture by Simply Southern Mom
- Pumpkin peanut butter snowflake dog treats by Two Little Cavaliers
- Easy DIY ginger tea cocoa butter soap by Food Fun Family
- DIY Reindeer gift bag by A Bride on a Budget



Pingback: Make Your Own DIY "Snow" Covered Window - Simply Southern Mom
I love that shabby chic look. What a wonderful project for year round and can be made so many different ways. Your so clever I just love following you and look forward to seeing what you create. Thank you so much for sharing this great project.
wow, that is really pretty! I think I would add some small led lights too for a nice glow at night. very creative way to reuse something old.
I remember my mom would bring home old windows. I wish we still had them. We just never did anything cool with them but we did have plans to. I love what you’ve done here, very cool.
What a great way to epicycle. It came out perfect! I need to try something like this.
I need to find an entire place that has vintage windows. I have so many craft ideas, and these are so cute!
That’s a lovely piece to brighten the walls during the winter. I’d love one in my house and will have to be on the lookout for the old frame.
I love repurposing older items and breathing life into them again! This frame turned out wonderfully!
It adds some nice life to the outdoors at a very dull time of year. Cute idea, Pam!
This is a fabulous way to reuse an old window frame, I love how beautiful it is!
That is gorgeous! I so want to make this, I love anything rustic or cottage shabby chic!
Love that upcycle! My Frozen obsessed children would love this too!
This is such a pretty idea! Now I want to go looking for an old window!
Pingback: Pumpkin Peanut Butter Snowflake Dog Treats - Two Little Cavaliers
This turned out so cute! I love fun winter crafts like this to brighten up such a dreary season.
What a creative idea! I agree that winter can be kind of blah, thats why I love things like this that make it a little bit brighter.
I love the way this turned out. I need to see if I can find something like that here.